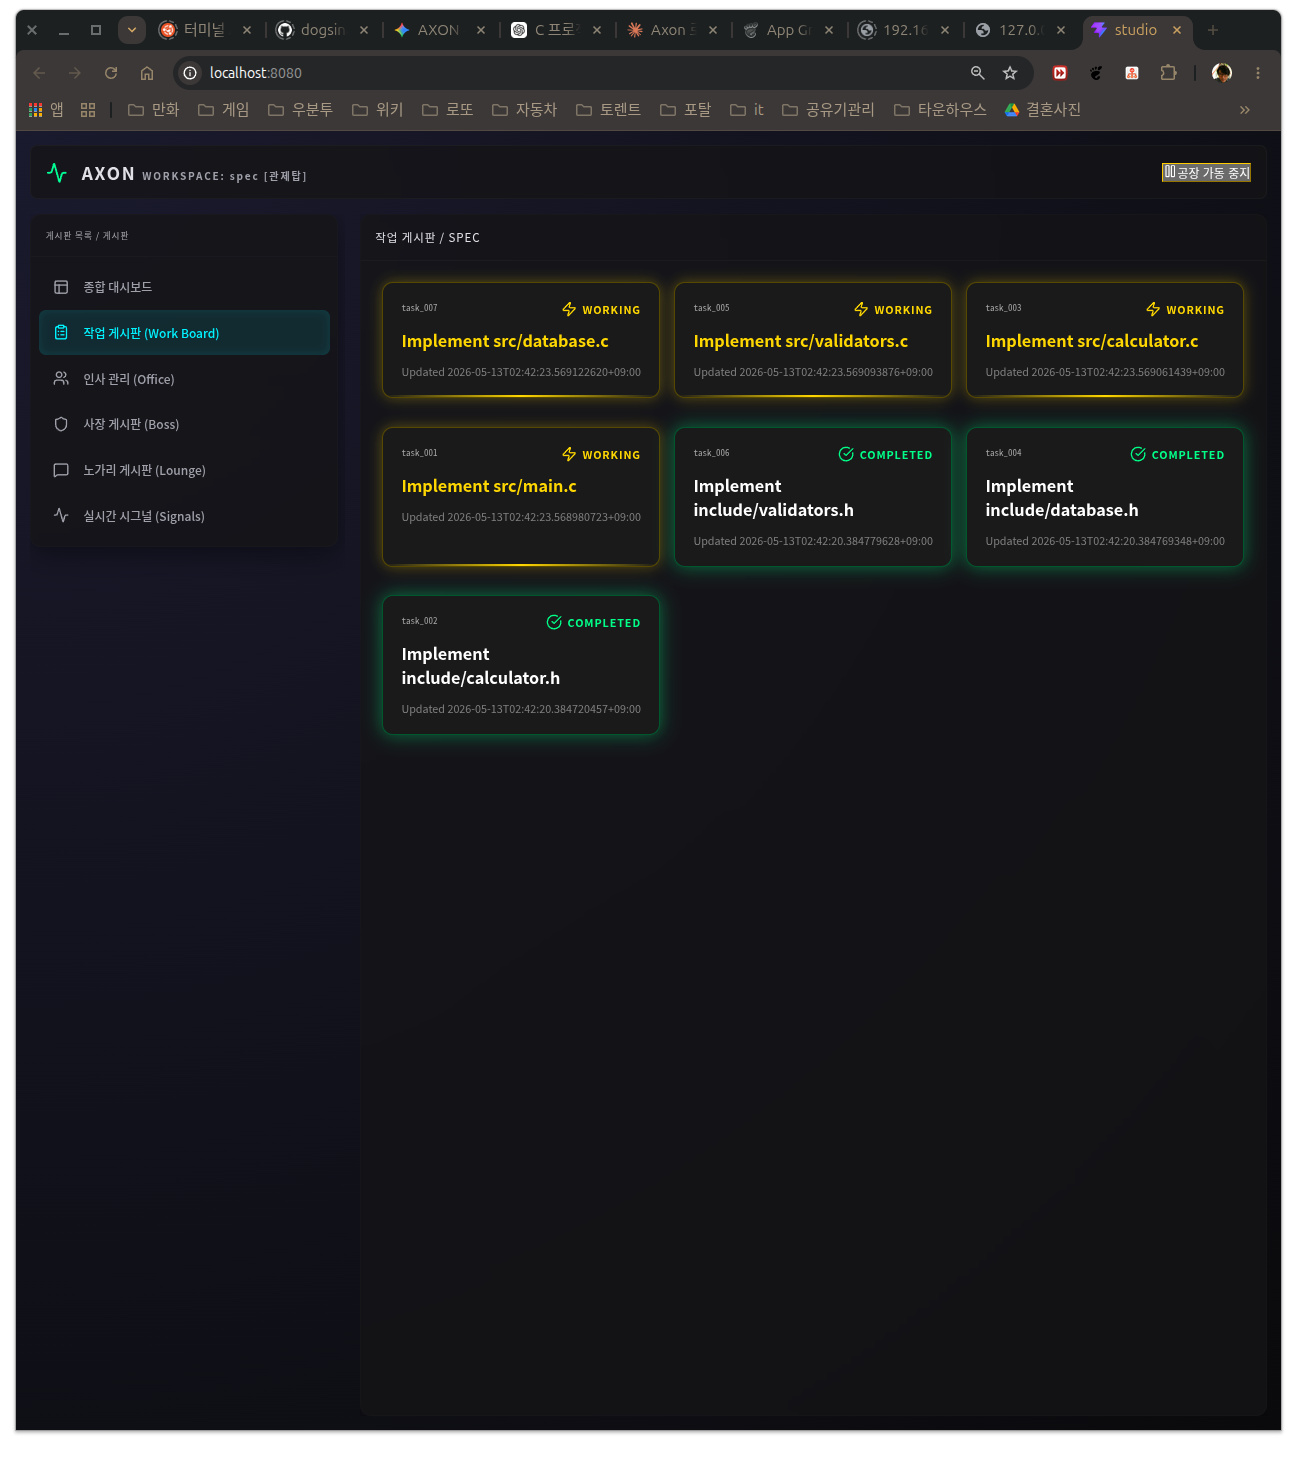
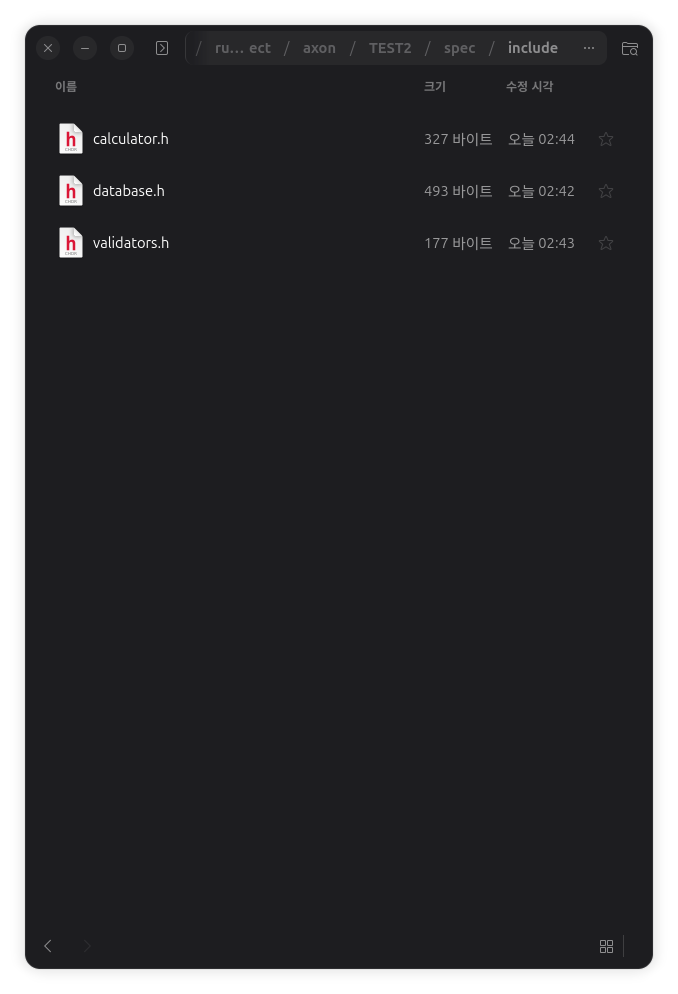
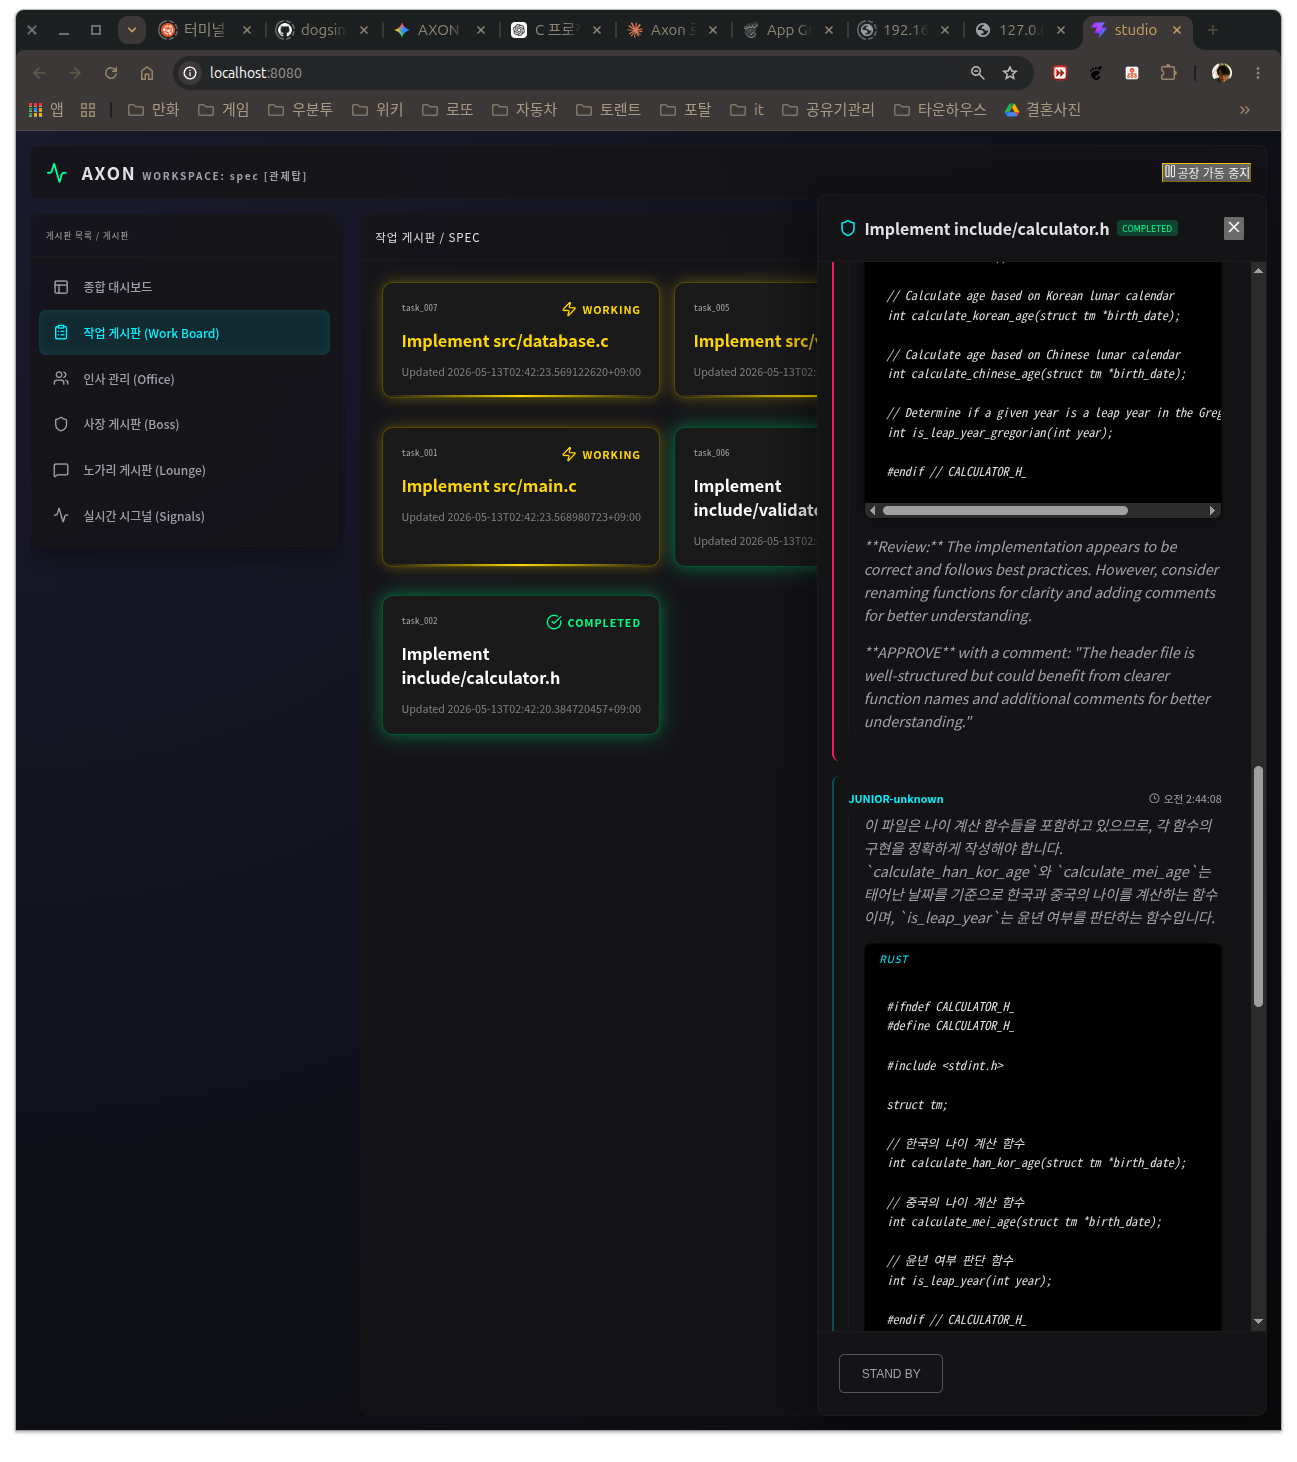
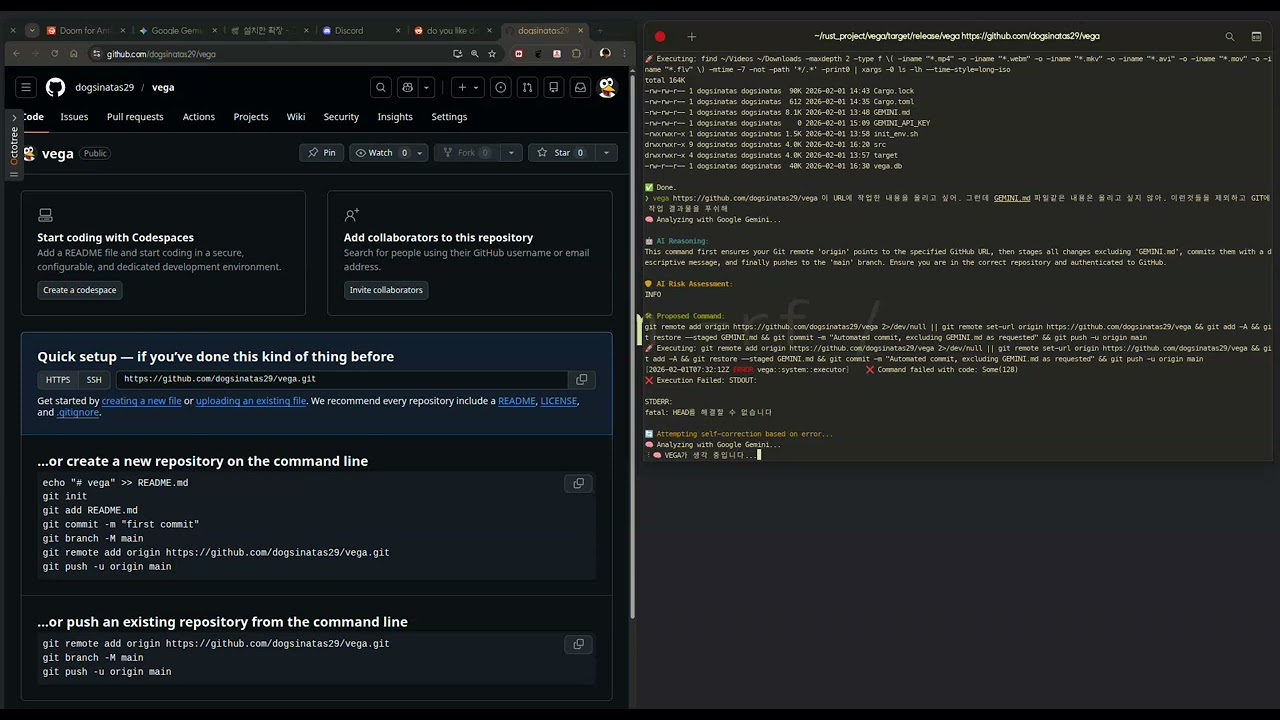
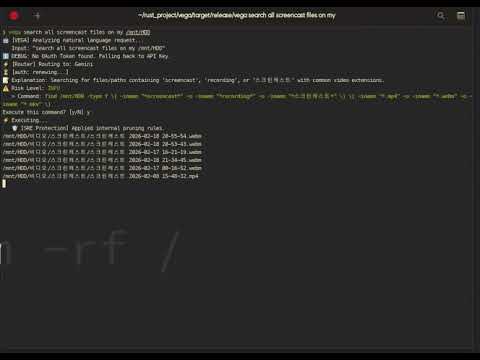
예를 들어 마운트된 HDD 폴더안에서 스크린캐스트 기능으로 녹화한 파일을 검색해달라고 하면
Screencast를 스크린캐스트로 변환하고 관련된 확장자명을 스스로 판단하여 검색 옵션을 조절합니다.
결과는 아래 동영상 처럼 됩니다.
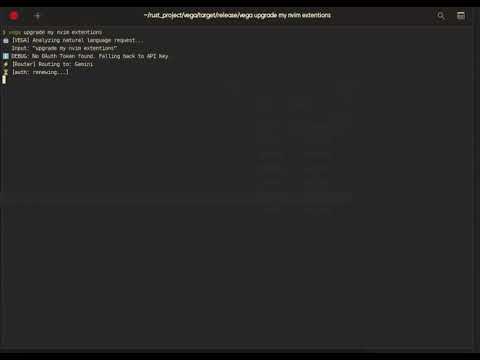
만약 내 nvim의 확장을 업데이트해달라고 명령하면 이미 내가 사용하는 nvim의 확장자 관리자가 어떤건지 파악하고 여기에 맞춰서 nvim의 확장자를 업데이트 해줍니다.
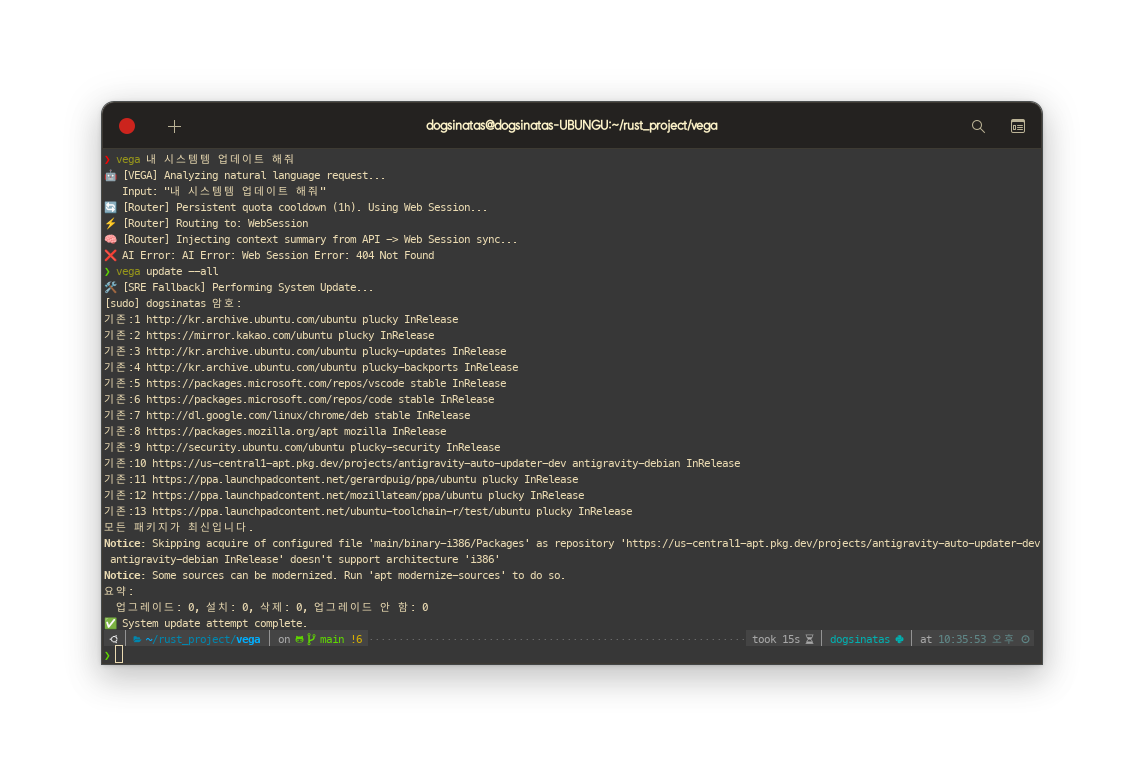
만약 내 OS를 업데이트 해 달라고 말하면 vega config에서 저장된 OS 정보를 찾아내서 이 녀석이 사용하는 게 dnf인지 aur인지 혹은 apt인지를 인지하고 여기에 맞는 명령어를 찾아 실행합니다. sudo 권한이 있으니 당연히 이명령을 실행할지 여부는 물어봅니다.
만약 어떤 앱을 실행해달라고 하면 이 앱을 실행해보고 없으면 설치할 것인지 묻고 난 다음 실행해줍니다
vega “내 구글 드라이브의 input 폴더의 내용을 모두 복사해줘” [VEGA] Analyzing natural language request…
Input: “내 구글 드라이브의 input 폴더의 내용을 모두 복사해줘” IP Unknown. Running automatic discovery… Discovery: Found specific configuration: lazy.nvim Discovery: Found 1 rclone remotes. Remote identified: REMOTE_01 Network discovery completed. DEBUG: No OAuth Token found. Falling back to API Key. [Router] Routing to: Gemini [auth: renewing…] Explanation: Copies all content from the ‘input’ folder on REMOTE_01 (Google Drive) to the current directory. Risk Level: INFO
Command: rclone copy REMOTE_01:input ./
Execute this command? [y/N] y Executing… IP Unknown. Running automatic discovery… Discovery: Found specific configuration: lazy.nvim Discovery: Found 1 rclone remotes. Remote identified: REMOTE_01 Network discovery completed. IP Unknown. Running automatic discovery… Discovery: Found specific configuration: lazy.nvim Discovery: Found 1 rclone remotes. Remote identified: REMOTE_01 Network discovery completed. [Resolved] rclone copy gdrive:input ./ Execution Successful.
클라우드 통합 (rclone)
VEGA는 rclone을 활용하여 무중단 프로젝트 백업 및 상태 동기화를 지원합니다.
1. 사전 준비
시스템에 rclone이 설치되어 있어야 합니다: sudo dnf install rclone (Fedora) 또는 sudo apt install rclone (Ubuntu).
클라우드 리모트를 설정합니다: rclone config.
2. 자율 탐색 (Autonomous Discovery)
VEGA의 탐색 엔진은 활성화된 rclone 리모트를 자동으로 식별하며, AI와 통신할 때 민감한 리모트 이름을 마스킹(예: gdrive: → REMOTE_01)하여 보안을 유지합니다.
3. 자연어 클라우드 작업
자연어로 클라우드 저장소와 상호작용할 수 있습니다. VEGA는 실행 직전에 마스킹된 이름을 원래의 리모트 이름으로 자동 복원합니다.
# 예시: 구글 드라이브에서 폴더 복사
vega "구글 드라이브의 'input' 폴더를 여기로 복사해줘"

# 예시: 현재 프로젝트를 클라우드와 동기화
vega sync
4. 안전 가드레일 (Safety Guardrails)
용량 제한: 데이터 비용 및 오버헤드 방지를 위해, 동기화 크기가 1GB를 초과할 경우 자동으로 차단됩니다.
활용 방법은 다음과 같습니다
파이어 폭스가 스냅설치인지 네이티브 설치인지 모를 때
그냥
vega firefox가 Snap으로 설치된건지 아니면 apt로 설치된건지 확인해줘 [VEGA] Analyzing natural language request…
Input: “firefox가 Snap으로 설치된건지 아니면 apt로 설치된건지 확인해줘” IP Unknown. Running automatic discovery… Discovery: Found specific configuration: lazy.nvim Discovery: Found 1 rclone remotes. Remote identified: REMOTE_01 Network discovery completed. DEBUG: No OAuth Token found. Falling back to API Key. [Router] Routing to: Gemini [auth: renewing…] Explanation: Checks if ‘firefox’ is present in the snap package list, then falls back to checking the apt installed package list. Risk Level: INFO
Command: snap list | grep -i firefox || apt list --installed | grep -i firefox
Execute this command? [y/N] y Executing… IP Unknown. Running automatic discovery… Discovery: Found specific configuration: lazy.nvim Discovery: Found 1 rclone remotes. Remote identified: REMOTE_01 Network discovery completed. IP Unknown. Running automatic discovery… Discovery: Found specific configuration: lazy.nvim Discovery: Found 1 rclone remotes. Remote identified: REMOTE_01 Network discovery completed.
firefox 148.0-1 7901 latest/stable/… mozilla** - Execution Successful.
vega firefox가 snap으로 설치되어 있다면 apt 설치로 영구히 바꿔줘 [VEGA] Analyzing natural language request…
Input: “firefox가 snap으로 설치되어 있다면 apt 설치로 영구히 바꿔줘” IP Unknown. Running automatic discovery… Discovery: Found specific configuration: lazy.nvim Discovery: Found 1 rclone remotes. Remote identified: REMOTE_01 Network discovery completed. DEBUG: No OAuth Token found. Falling back to API Key. [Router] Routing to: Gemini [auth: renewing…] Explanation: Removes Snap Firefox, adds Mozilla PPA, sets APT preference for PPA Firefox, updates package lists, then installs Firefox via APT. Risk Level: WARNING
Command: sudo snap remove firefox && sudo add-apt-repository ppa:mozillateam/ppa -y && echo ‘Package: firefox*\nPin: release o=LP-PPA-mozillateam\nPin-Priority: 1001’ | sudo tee /etc/apt/preferences.d/mozillateamppa > /dev/null && sudo apt update && sudo apt install firefox -y
Execute this command? [y/N] y Executing… IP Unknown. Running automatic discovery… Discovery: Found specific configuration: lazy.nvim Discovery: Found 1 rclone remotes. Remote identified: REMOTE_01 Network discovery completed. IP Unknown. Running automatic discovery… Discovery: Found specific configuration: lazy.nvim Discovery: Found 1 rclone remotes. Remote identified: REMOTE_01 Network discovery completed.
[sudo: authenticate] Password:
자동으로 권한 요청하고 명령어 수행합니다.
적어도 시스템 관리 측면에서는 귀찮은 명령어들의 옵션은 내부에서 추론해버립니다. 토큰 적게 쓰려고 미친 짓 많이 했네요
이제 Rclone도 거의 완료된거 같습니다.
rclone confg 되어 있으면 자동으로 읽어들입니다
굳이 google drive 주소 일일이 설정할 필요없이 구글 드라이브의 특정 폴더의 내용을 복사하거나 현재 디렉토리의 내용을 rclone으로 보내 버릴 수 있습니다.
[Result Presentation]
Model ‘mistral’ removed successfully.
deleted ‘mistral’
[Sovereign] Orchestration completed successfully.
mistral:latest 6577803aa9a0 4.4 GB 5 minutes ago
Llama3:latest 365c0bd3c000 4.7 GB 5 days ago
qwen2.5:7b-instruct-q4_K_M 845dbda0ea48 4.7 GB 7 days ago
❯ source ~/.llm.sh
AXON Node-01 Check Ollama: Running Venv: Active Models:
NAME ID SIZE MODIFIED
Llama3:latest 365c0bd3c000 4.7 GB 5 days ago
qwen2.5:7b-instruct-q4_K_M 845dbda0ea48 4.7 GB 7 days ago
설치 삭제까지 성공입니다.
이제 다음 목표는
복합 추론을 하게 하려고 합니다.
예시 :
vega ssh에 연결된 시스템에 설치된 LLM 모델 정보를 알려줘
이건 추론의 과정이 복합적입니다. ollama라는 상위 정보는 없고 llm 모델이라는 정보 만 있죠.
이게 가능한 수준까지 올리는게 목표입니다.
즉 시스템이 “LLM 모델” 이라는 추상 목표에서 가능한 provider/runtime 들을 추론해야 합니다.
그 상태로 vega에서 추론 단계를 거쳐 ollama → 설치된 모델을 확인합니다. [VEGA] Analyzing natural language request…
Input: “ssh에 연결된 시스템에 설치된 LLM 모델 정보를 알려줘” Identifying as: dogsinatas-axon (192.168.0.240) Discovery: Found specific configuration: lazy.nvim Discovery: Found 1 rclone remotes. Remote identified: STORAGE:REMOTE_C4CC Discovery: Found 1 potential SSH targets in config. SSH Target identified: HOST:REMOTE_73B8 [Router] Routing to: Ollama [Target] Resolved to canonical: 192.168.0.150 Explanation: 192.168.0.150에 설치된 Ollama 모델 목록을 조회합니다. Action: OLLAMA_LIST_INSTALLED on 192.168.0.150
Execute this semantic action? [y/N] y Executing… [Executor] Skipping heavy snapshot capture for Ollama: List Installed Models [Action] Validating Ollama: List Installed Models based on host capabilities… [Plan] Execution Strategy:
ollama list [Safety] Impact: Retrieves the list of models installed on the system., Level: Safe [Executor] Dispatching Remote Command: OLLAMA_HOST=127.0.0.1:11434 ollama list to 192.168.0.150 [SSH] CMD: ssh -o BatchMode=yes -o ConnectTimeout=10 -o StrictHostKeyChecking=no -p 22 dogsinatas@192.168.0.150 ‘OLLAMA_HOST=127.0.0.1:11434 ollama list’
 [VEGA] Analyzing natural language request…
 IP Unknown. Running automatic discovery…
 Discovery: Found specific configuration: lazy.nvim
 Discovery: Found 1 rclone remotes.
 Remote identified: REMOTE_01
 Network discovery completed.
 [Router] Routing to: Gemini
 [auth: renewing…]
 Explanation: Copies all content from the ‘input’ folder on REMOTE_01 (Google Drive) to the current directory.
 [Resolved] rclone copy gdrive:input ./
 Execution Successful.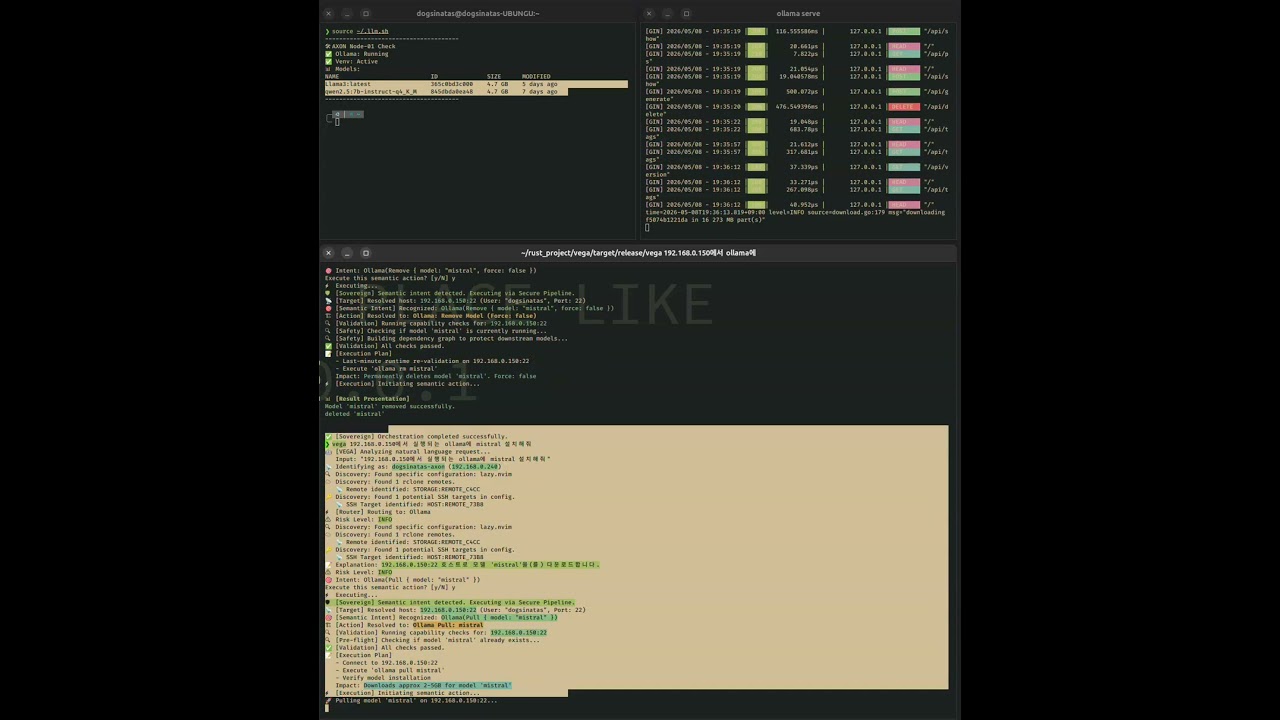
 Discovery: Found 1 potential SSH targets in config.
 Intent: Ollama(Remove { model: “mistral”, force: false })
 [Sovereign] Semantic intent detected. Executing via Secure Pipeline.
 [Action] Resolved to: Ollama: Remove Model (Force: false)
 [Result Presentation]
 AXON Node-01 Check
 [Executor] Skipping heavy snapshot capture for Ollama: List Installed Models
 [STDOUT]
 [STDERR]
 [EXIT CODE] 1